Showing posts with label prima. Show all posts

Tuesday, 4 June 2019

Beach theme suit box | 20*20 inches

Hello everyone,
This is Meher back with another post with a huge suit box customized for a groom on beach theme. I've painted the box using sponge to give a nice texture in aqua blue and sand color. I created two vintage boats in beautiful red color to give a detailed look to the box. I then added loads of sea shells in different sizes on the sand area to give a natural look with bunches of pearls in different sizes. To complete the box, I added some leaves and white fence. It pretty much looked complete and beautiful. I bought some satin cloth in off-white color and attached it inside the box. I also did some stenciling inside the lid and fixed a laminated picture of the groom inside.
I've attached some pictures of the box below and I hope you like it.


Thank you for stopping by!

Hugs
Meher

Thursday, 4 October 2018

Handbag album | Stationers desk

Happy Thursday! 
Hope you are having a great week so far.
I have a new project to share with you today and this is something I had been waiting to create for the last two years. I know two years is a very long time but I was waiting for the best opportunity to knock my door and it finally did. If I talk about the papers, it was very difficult to part from them as I had been preserving them for about more than 3 years now. I wanted to create something for myself out of these papers as they are very close to my heart and offcourse they are no longer available in the market. I feel the colors, the textures and the designs they carry are extremely gorgeous. I've preserved all the bits and pieces of this collection that remained so that I can create some small pieces of art for myself and my studio badly needs it. 
Well, this is a beautiful handbag album with seven amazing folders with lots of flips and folds in different sizes. This is something every girl would like to have to store her memories. I hope you like it.


Saturday, 30 June 2018

Shabby chic | Tri shutter card

Yayyyyy!! So, finally it's Saturday and weekends are filled with excitement. Spending some quality time with family and hanging out is real fun and relaxing after a hectic week. It's sunny morning here in Kolkata today and I am sharing a new card that I created recently.
I believe each and every artist has his own style of working and if you had asked me about my working style a year back, I would have definitely described it as Vintage but lately I have been experimenting a lot! Whether it is designs, products, styles or even colours. I’ve always been open to trying new things and I'm pretty sure you are going to find it in my post today.  I've many more projects created in different styles and I'm going to be uploading them soon.
Grab a cup of coffee ☕ for now and enjoy the post.


Friday, 22 June 2018

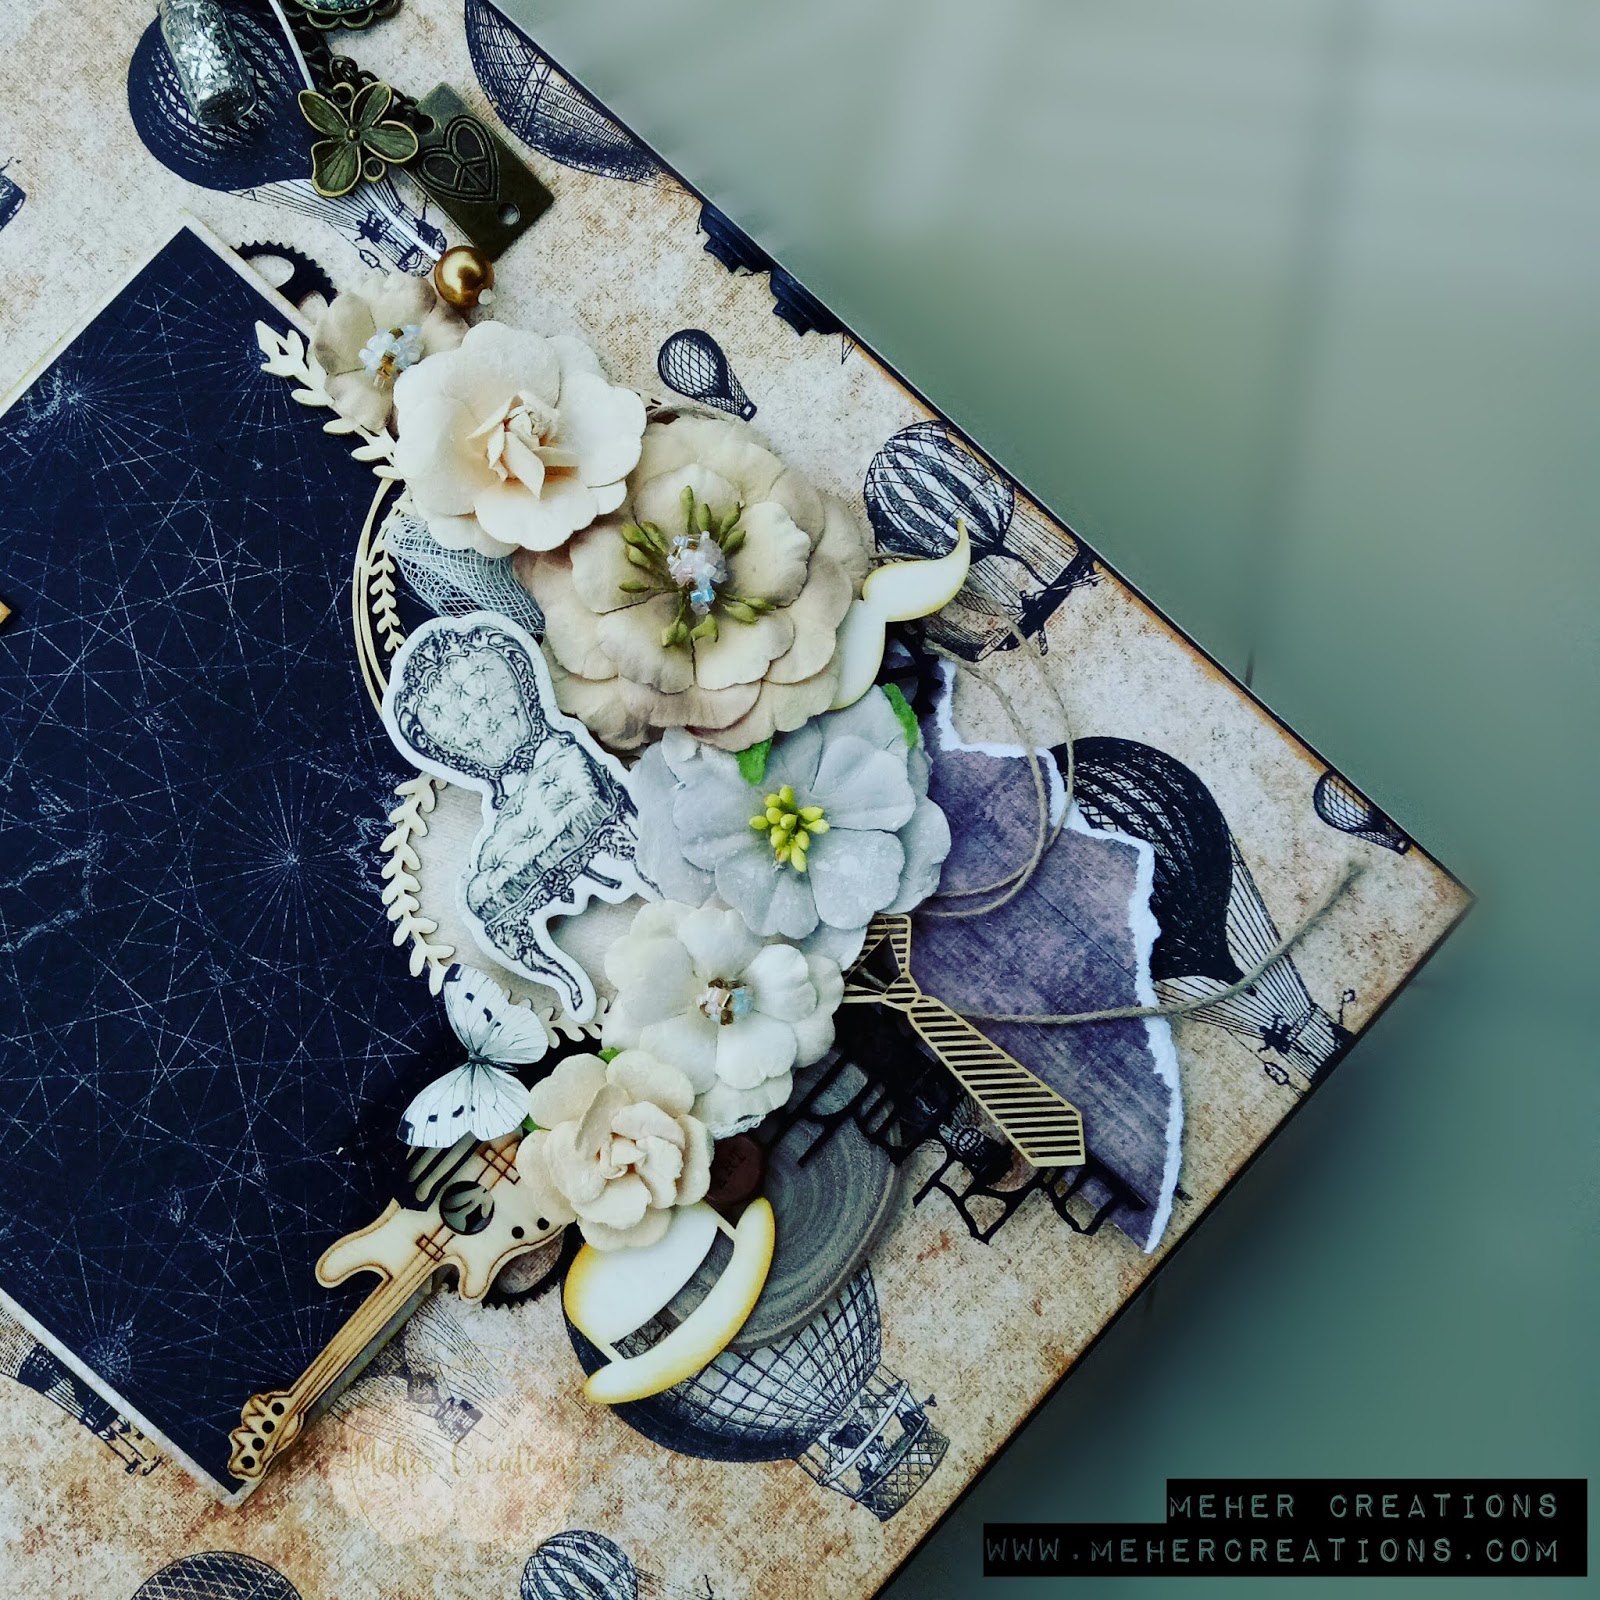
Birthday scrapbook | Masculine theme

Hey there!
I am back after a very long time with a quick new post on a 12" by 12" scrapbook created recently on Masculine theme. This album is a new addition to my collection and I had been eyeing on these gorgeous papers since long and had preserved it to create something exclusive and almost after 2 years I managed to try my hands on it. I absolutely love the way it turned out and the best part is that it goes pretty well with the theme. This scrapbook is made on a 60th birthday with loads of embellishments executed beautifully on the cover. This album holds more than 100 photographs and has a lot of flaps, pockets, vintage cards and tags. 


Hope you like it!

Monday, 27 November 2017

Vintage shadow box

Hello readers,
Hope you are doing great today!
I am back with yet another beautiful post with tons of pictures to share with you. I painted my shadow box in brown color and added some vintage papers chosen randomly from my stash. I then created some photo mats and attached it to the frame using foam tape. I picked some metal and other embellishments to stick them in every compartment of the frame using hot glue. I tied miniature book with twine and metal key to give a junk journal look to it and attached it in one compartment below. Since I wanted to highlight the miniature clock, I fixed it on the first shelve right in front of the photo mat. I love the outcome of it and I hope you like it too.
Though I write blogs once a week, I am very much active on my social media accounts with a lot of posts every now and then. 
Click here to check more posts if you like my style of working.

Thank you for your time and Happy Crafting!!


Hugs,
Meher Shaikh 

In Love

Hello everyone,
Hope you are going great!
I have a new love album to share with you today.
This is a chipboard album measuring 6.5 inches by 5 inches. It has 6 chipboard pages and 14 sides including the cover. I have decorated the cover with bunches of flowers and other embellishments. The spine of the album is decorated with beautiful lace and a cute dangler with couple of charms.
I have also decorated a little on the inner pages of the album and I have attached couple of pictures below. 
Hope you like them!


Thank you for your time!

Saturday, 11 November 2017

Small budget miniature craft room

Hello everyone, 
Welcome back to a new and I must a totally different and unique post where I'm going to show you a small craft room space. I created this project using a lot of miniatures like the bottles, books, frames, tea pot, lantern, cabinets, blending tool and a lot more. I created some pen stands, score board, miniature albums, photo folios and a lot more things with papers to give a craft room feel.  This is small budget craft room of a beginner. (You can say my craft room in my early days of crafting) 
Well, I have attached couple of pictures of this project with captions detailing them. I simply hope you like it and thank you for your time.  Do follow me on my blog for regular updates and for some upcoming tutorials. 

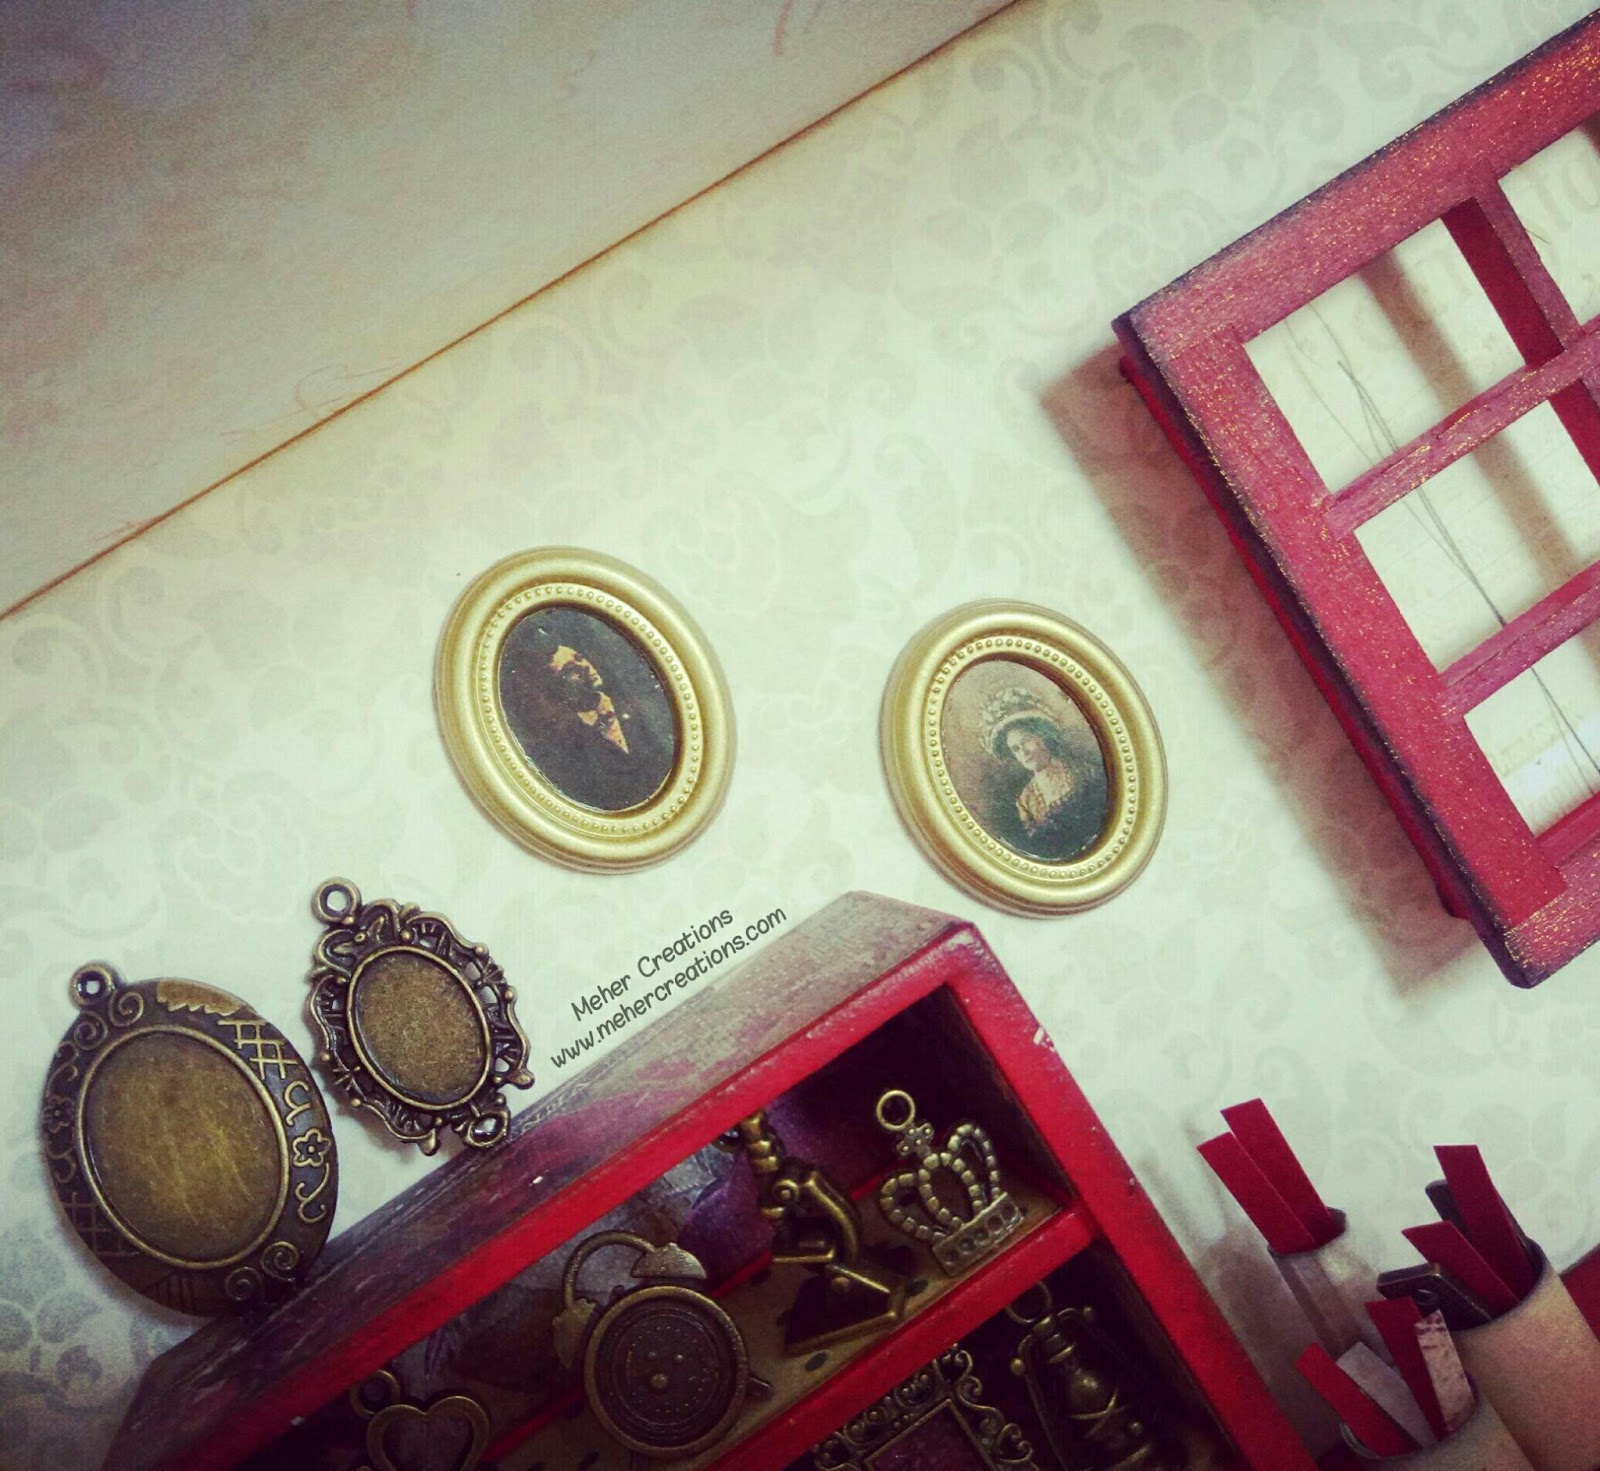
Everyone needs natural light when they craft or do any kind of art work. So I first colored and added a window on the wall. Your craft desk is your all time buddy and you need it at any cost. So, I created a desk using chipboard and covered it with red textured cardstock. I then joined the drawers and shelves sections below the table to store craft supplies. At least one cabinet is mandatory in a craft room to store all your expensive craft supplies and handmade products to protect them with dust and damage. So, I created one in red adding a lot of miniatures.
Close up pictures attached below 👇

This is close up picture of the cabinet painted in red.
I have actually attached some beautiful and matching papers to make the cabinet look highlighted in the project.

This is a picture captured from the left side of this
project to highlight the beautiful table I created just with the help of blending tool. I took a beautiful golden satin cloth to cover the
top of the tool and sticked the edges of the cloth using hot glue gun to frame the table. I have also colored the tool with some gold inks to give
a matching effect.

Here's a full picture of the red cabinet with bunches of miniature charms I had in my stash. I have fixed them all using a transparent glue.

The walls of the room have two beautiful golden frames and two antique frames are fixed of the cabinet just to give a natural feel.

Here you find set of drawers with golden pull handles and open shelves on the right side to store cardstocks and some craft supplies. All the three drawers can be opened to keep tiny things inside. 
This is a scoreboard I created using cardstock.

Here I have set of pen stands that I created using some papers and added some coloured paper strips in it to make it look more natural and pretty.

Thank you 
www.facebook.com/mehercreationsindia