Showing posts with label full tutorial. Show all posts

Thursday, 16 November 2017

Giveaway (Two winners this time yayyyyyyy!!!!!)

Hello guys,
Hope you all are doing great.
Today I am here to announce a giveaway.. Yayyyyyyyyyy!!
You just have two rules to follow to enter this giveaway and I am super excited to share this with you. Well, the first rule is about sharing the posts on your Facebook timeline or your page using #mehercreations (Please use correct spelling) 
The second rule is about commenting "I am in" on the Facebook post and tagging 5 people in the comment section. You can definitely tag more than 5 people but it is again your choice. 
I will be choosing two winners for this giveaway on 24th of this month.
Looking forward for your participation!
Thank you


Saturday, 11 November 2017

Small budget miniature craft room

Hello everyone, 
Welcome back to a new and I must a totally different and unique post where I'm going to show you a small craft room space. I created this project using a lot of miniatures like the bottles, books, frames, tea pot, lantern, cabinets, blending tool and a lot more. I created some pen stands, score board, miniature albums, photo folios and a lot more things with papers to give a craft room feel.  This is small budget craft room of a beginner. (You can say my craft room in my early days of crafting) 
Well, I have attached couple of pictures of this project with captions detailing them. I simply hope you like it and thank you for your time.  Do follow me on my blog for regular updates and for some upcoming tutorials. 

Everyone needs natural light when they craft or do any kind of art work. So I first colored and added a window on the wall. Your craft desk is your all time buddy and you need it at any cost. So, I created a desk using chipboard and covered it with red textured cardstock. I then joined the drawers and shelves sections below the table to store craft supplies. At least one cabinet is mandatory in a craft room to store all your expensive craft supplies and handmade products to protect them with dust and damage. So, I created one in red adding a lot of miniatures.
Close up pictures attached below 👇

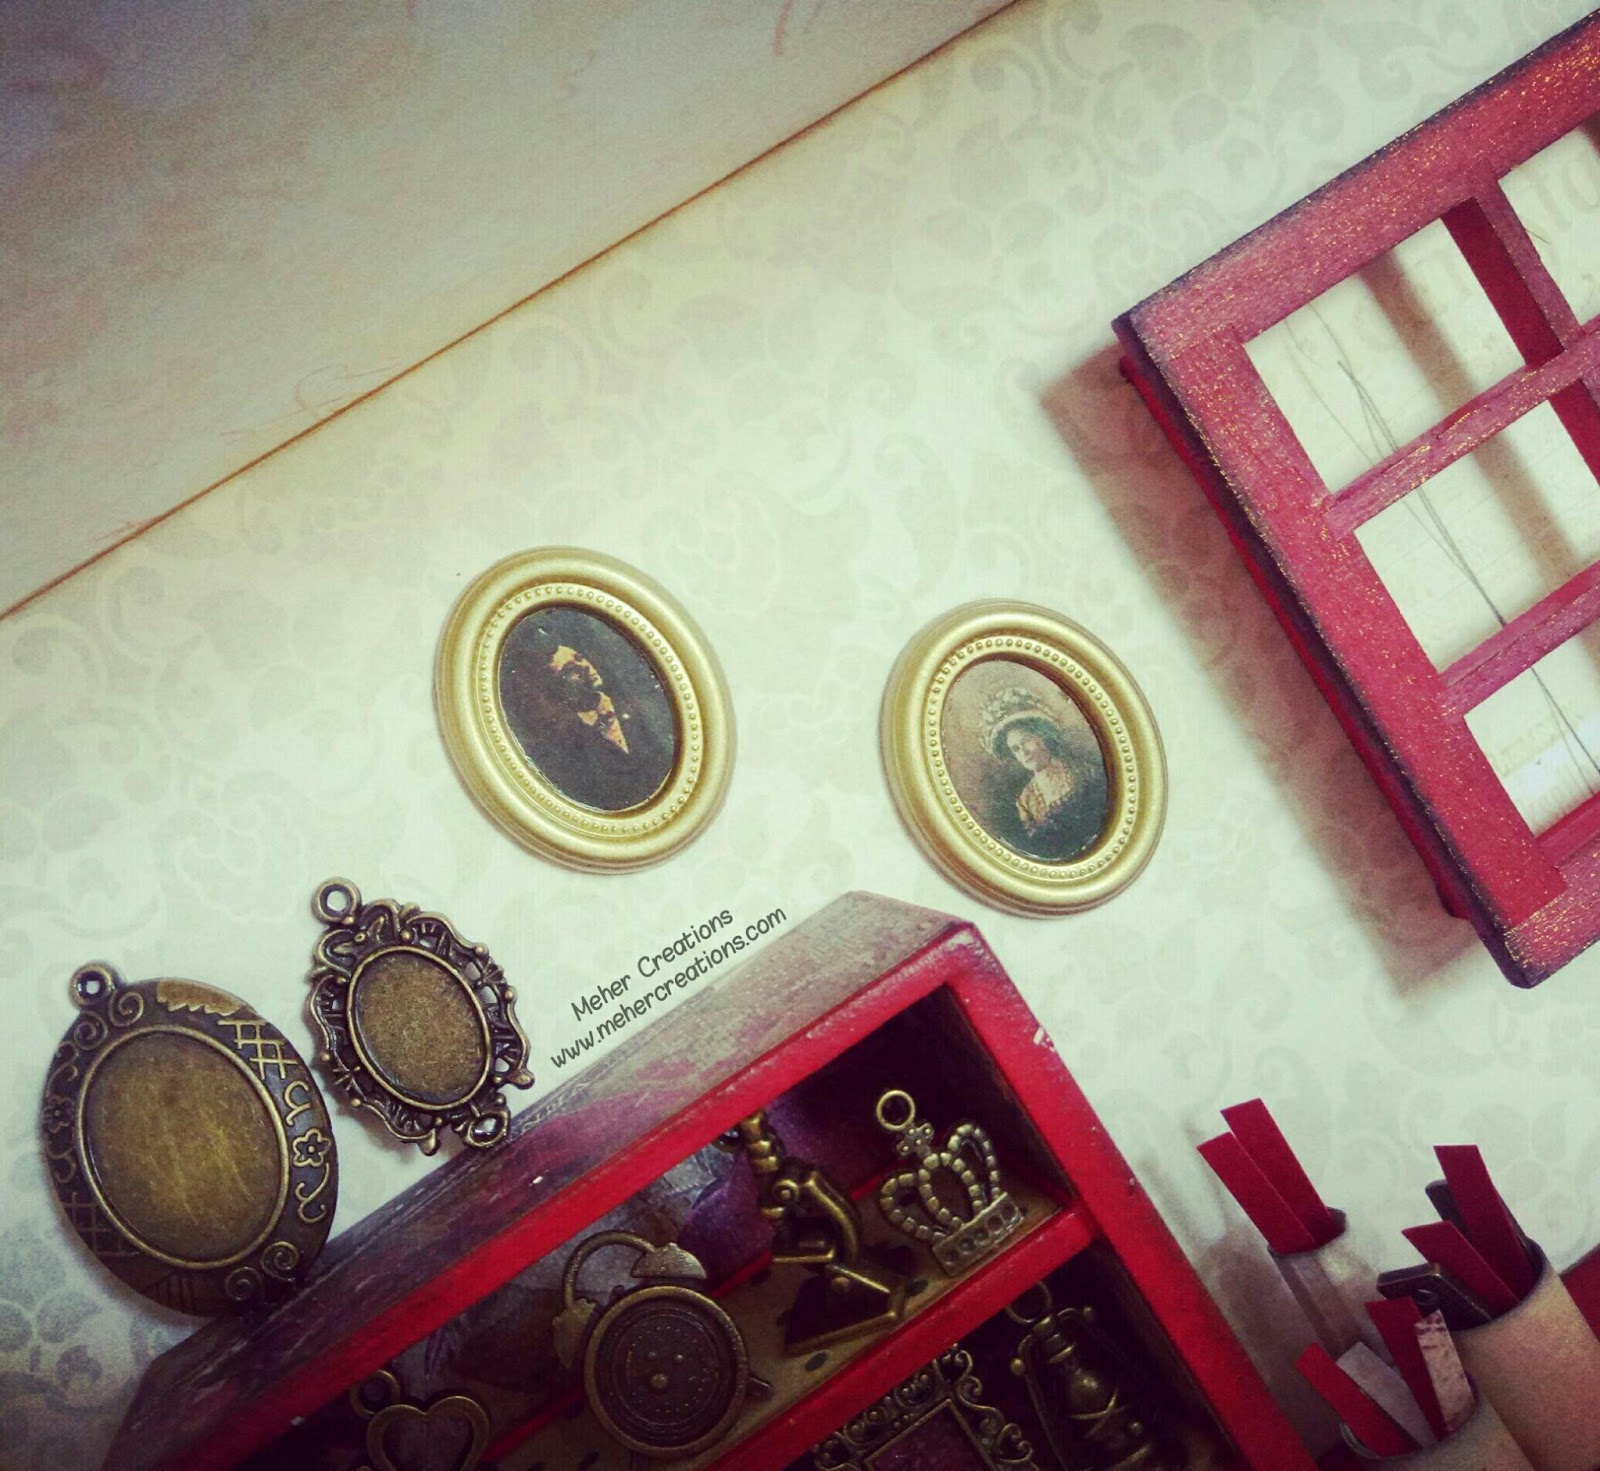
This is close up picture of the cabinet painted in red.
I have actually attached some beautiful and matching papers to make the cabinet look highlighted in the project.

This is a picture captured from the left side of this
project to highlight the beautiful table I created just with the help of blending tool. I took a beautiful golden satin cloth to cover the
top of the tool and sticked the edges of the cloth using hot glue gun to frame the table. I have also colored the tool with some gold inks to give
a matching effect.

Here's a full picture of the red cabinet with bunches of miniature charms I had in my stash. I have fixed them all using a transparent glue.

The walls of the room have two beautiful golden frames and two antique frames are fixed of the cabinet just to give a natural feel.

Here you find set of drawers with golden pull handles and open shelves on the right side to store cardstocks and some craft supplies. All the three drawers can be opened to keep tiny things inside. 
This is a scoreboard I created using cardstock.

Here I have set of pen stands that I created using some papers and added some coloured paper strips in it to make it look more natural and pretty.

Thank you 
www.facebook.com/mehercreationsindia 

Saturday, 4 November 2017

Vintage mixed media Envelopes

Hello readers,
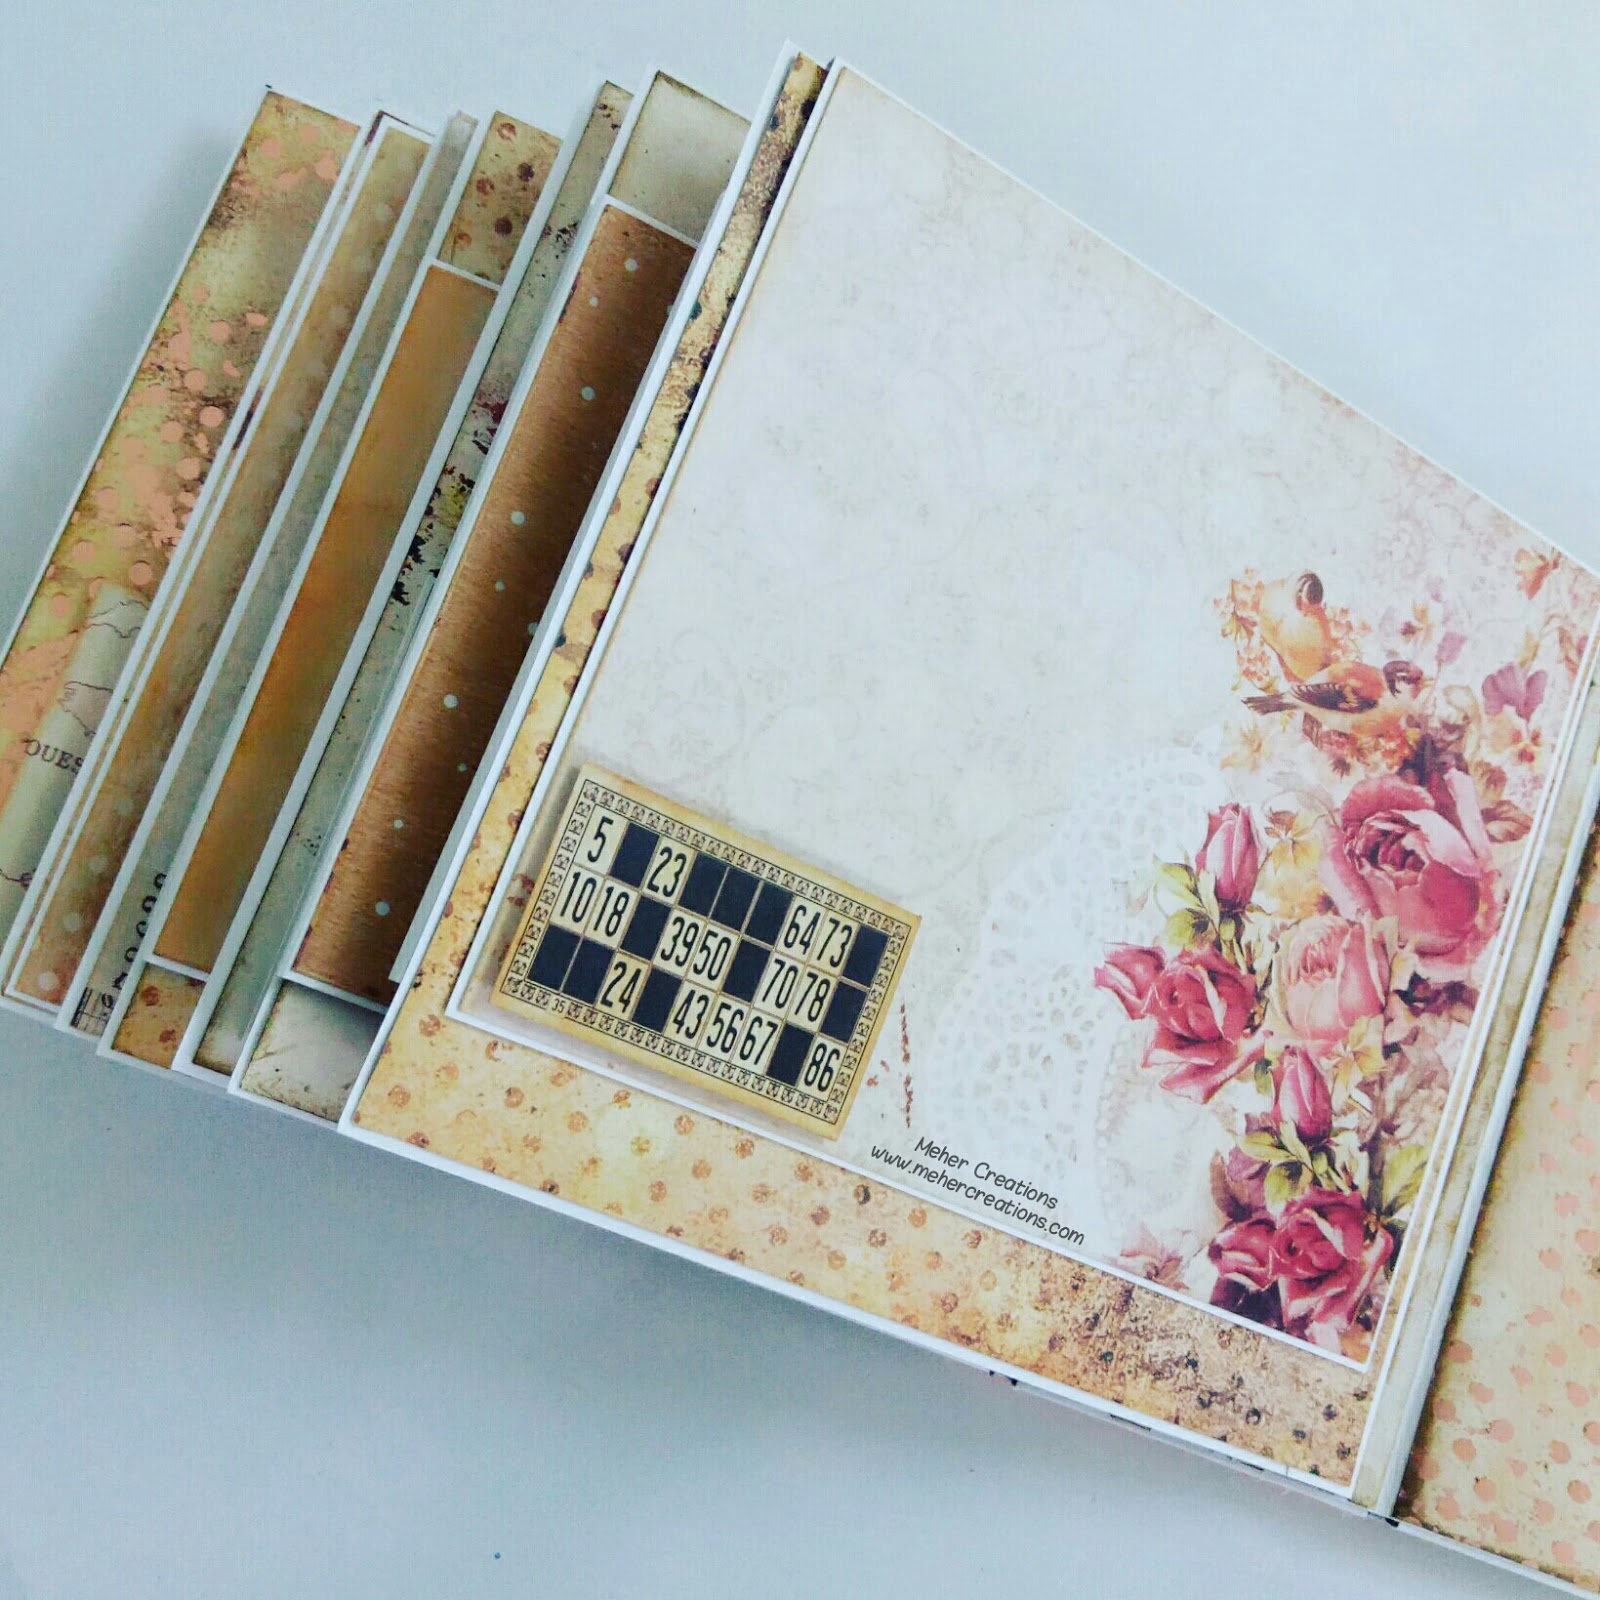
I am back with another beautiful post this lovely evening. I have created a few vintage mixed media envelopes measuring 7 inches by 5 inches and I have layered couple of distressed papers in different dimensions to make these layouts look perfect and have a 3D look. All the envelopes are embellished with my favorite metal charms and flowers. Hopefully you will be able to see that in the pictures attached below.
I have tied to keep them as simple as possible because of the beautiful layering that I had already done. Also, these envelopes are fully varnished and are durable.
Hope you like them!

Thank you for stopping by

hugs
Meher

Wednesday, 13 September 2017

Twinkle in my eyes (Video tutorial available to purchase)

Hi everyone,
Hope you're doing great. 
I'm back with another album which I created while I was shooting a tutorial for this project for my students. This is a beautiful love themed album filled with a couple of pockets, interesting tags and flaps.
This album is definitely a twinkle in my eyes and I don't want to give it a new home. but at the end of the day I dont like to stock things and just ruin the beauty of it by dumping it at one corner. I have attached all the pictures of this album in detail below.
This album takes around 4 - 5 hours to complete. The kit of this album will be provided for students in India and overseas. In order to purchase the tutorial you need to write a mail on: info@mehercreations.com